How to Successfully Move With Fish
The products featured here are independently selected based on thorough research from our editorial team. If you buy something through links on our site, we may receive a commission.Moving with fish is different than moving with a cat or dog. Instead of packing up a pet bed, some food, and a few toys, you’ll be moving an entire ecosystem and a large glass box. Whether you’re moving across states or around the block, fish survival is the name of the game. There are a few things you should do to make sure your fish and their habitat survive the journey to their new home. Sound stressful? Don’t worry, I’ll show you how to easily prepare and move your fish step-by-step.
Gather your supplies
You know what they say - preparation is key! Before you start the fish-moving process, there are a few supplies you’ll want to keep handy to ensure everything goes according to plan.- Insulated or styrofoam coolers: carries multiple fish together to save space, helps regulate the water temperature, and move the tank water.
- Large fish bags: used to bag the fish, make sure they have oxygen, and keeps them safe while on the road.
- Rubber bands: seals the fish bags.
- Fish net: catches the fish.
- Aquarium siphon: drains the water from the tank.
- Water conditioner: conditions the new water added to the tank after the move.
- Aquarium salt: helps heal sick and injured fish in freshwater aquariums.
- Blankets and towels: packs the empty fish tank away securely.
- Bubble wrap: protects the outside of the fish tank during travel.
Step-by-step guide on how to successfully move with fish
Step one: prepare fish for transport
Unfortunately, your fish can’t just stand up and walk out the door with you, which means you’re going to need to prepare some fish transportation. It’s best to bag all your fish in separate bags. Bagging fish separately means there’s no risk of contaminating your other fish if one gets sick or dies during transport. Plus, you won’t have to worry about any bullying between your fish. Styrofoam or insulated coolers help to regulate the water temperature and keep it from making any drastic changes in temperature.- Sort your fish bags and coolers to figure out which fish needs what size bag and how many fish will fit in a cooler.
- Unplug and remove equipment from the tank.
- Fill your fish bags ¼ of the way with water from the fish tank. Most of the fish bag should be filled with air.
- Use a fish net to catch your fish and place them in their designated bags.
- Twist and seal up the top of the fish bag with a rubber band.
- Place the fish in their bags along the bottom of the styrofoam or insulated cooler.
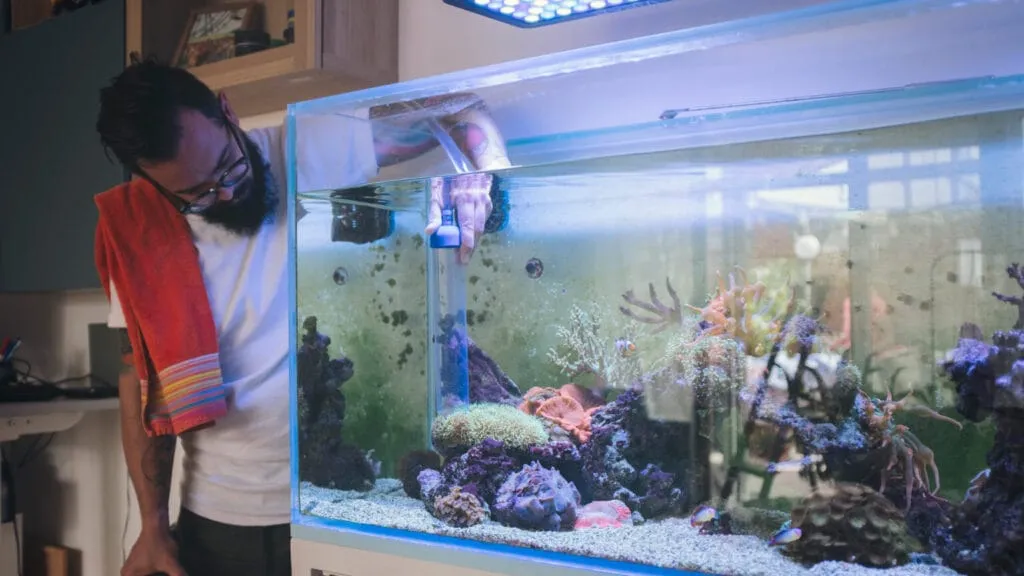
Step two: remove everything from the tank
The next step is to pack any plants, equipment, and tank decor. Everything must be removed from the tank, including gravel and sand. Anything left in the tank could potentially damage the seals and glass of your aquarium. MYMOVE pro tip: Check plants and decor for any hidden fish before packing them up.Step three: drain and store aquarium water
Once everything is packed away, use your aquarium siphon to empty around 75% of the water from the tank. Empty the tank water into your styrofoam or insulated coolers. It’s best to keep the tank water insulated so that you can reuse the same water at your new destination without giving your fish a temperature shock, which could kill them. MYMOVE pro tip*: try to keep as much of the original tank water as you possibly can. Your fish might not live long enough for you to prep new water for a stable ecosystem.*Step four: pack away the tank
Once the entire tank is empty and dry, fill the tank with soft blankets and towels, and then wrap the tank in a layer or two of bubble wrap. Pack the tank inside a secure cardboard box and place it someplace safe during travel. MYMOVE pro tip*: make sure there aren’t any large gaps in the box where the tank has room to slide around.*Step five: set up the tank in your new home
After you’ve made it to your new home, start to reassemble the aquarium as soon as possible.- Unpack the tank and inspect it for any cracks.
- Fill the tank with sand or gravel.
- Set up the tank equipment but do not plug them in.
- Fill the tank halfway with the original tank water.
- Place your plants and decor in the tank.
- Add any remaining original fish tank water.
- Introduce your fish back into the tank.
- Top off the rest of the tank with new tank water.
- Add a little water conditioner to the tank to remove any harmful chemicals from the new water.
- For freshwater aquariums, you can add a little aquarium salt. This can help to heal sick or injured fish.
- Wait an hour or two before plugging in the equipment to let everything settle.
- Monitor your fish for any signs of strange behavior.
Important considerations for fish survival
- Water temperature
- Water quality
- Access to oxygen
- Timing
- Fish behavior