
11 Steps to Laying Sod for the Perfect Lawn
Whether moving into a new home or preparing your home to sell, laying sod to get that perfect-looking lawn doesn’t need to be difficult. Most people want lush, beautiful lawns, but getting there seems to elude many. Sod installation is one of the easiest and fastest ways to achieve this goal.
How can I lay sod so that it looks and grows perfect every time? Here are 11 steps that show you how to install sod for the perfect lawn.
How to lay sod in 11 steps:
Many who move into a home with a less-than-desirable lawn want to know how to install sod. Laying sod for the perfect lawn is not that difficult if you follow the 11 steps outlined here.
Step 1: Decide where to lay the sod
Determine the exact placement, so you know both the area to be prepared and the amount of sod needed. Measure the area and plan for an extra 5%, so there is little waste, but to ensure you have enough to finish the job. Your supplier can provide you the right amount of sod based on your measurements.
Step 2: Test the soil
Use a pH tester to test the soil. You want the soil to be slightly acidic, which is in the pH range of 6.0 to 7.5.
Step 3: Prepare the surface
Get the surface ready by adding nutrients to raise the pH of the soil and to prepare the ground for the young sod roots. Break up the soil using a rototiller set to 4 to 6 inches depth to prepare the earth and blend in organic matter.
Step 4: Level the surface
Use a flat garden rake to level the surface, and then water it well. Sod installation can proceed within 24 to 48 hours.
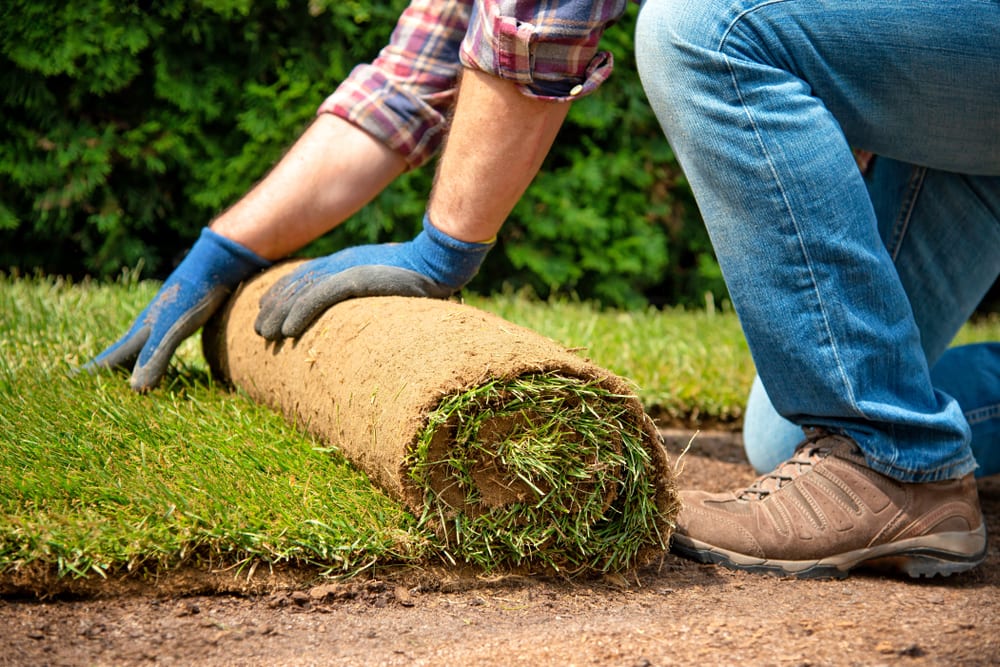
Step 5: Roll sod onto the prepared areas
Roll in even rows working toward the center. The center is where you want to put smaller pieces because if these are placed along the edges, they are more apt to dry out and die.
Step 6: Cut to fit
Fit the seams, contours, and obstacles using a carpet knife or good box blade. To fit over sprinkler heads, simply cut a small X and place the sod right over the sprinkler.
Step 7: Close gaps
Once the sod is laid, there will always be small gaps along the seams. Fill these seams with potting or topsoil.
Step 8: Firm the sod
Use a lawn roller to press the roots of the sod as firmly to the earth as possible. This will help the young grassroots dig in and take root.
Step 9: Water immediately
After installation, it’s important to water your new lawn every day for the first week unless there is rainfall. However, do not let water form puddles. After a week, water every other day; twice a week in week three; then weekly thereafter.
Step 10: Mow your new lawn on day ten
Wait ten days after installation, and then mow your new lawn. Be sure not to allow the lawn clippings to remain at this stage. Instead, rake them or use a bagging mower. Also, limit activity on the lawn until after the first month to allow the sod to properly take root.
Step 11: Apply a good starter fertilizer
After a month of growth, apply a starter fertilizer to help your new lawn continue to grow.
Products and tools you’ll need to lay sod for the perfect lawn
Some of the products and tools you will need to lay sod for the perfect lawn include:
- PH tester: This Luster Leaf digital pH tester will allow you to test for pH and both nitrogen and potassium levels in the soil. This way, you will know exactly what you need to add for a healthy lawn.
- Rototiller: To turn over and loosen the soil so that the sod roots can penetrate, a rototiller is best. Not only can it do the job much faster than hand tools, but there are also many affordable, small units to be found today, including this Sun Joe electric tiller and cultivator.
- Lawn builder: To ensure the soil has the right nutrients and composition for growing healthy grass, till in a good soil blend like Scotts Turf builder.
- Garden rake: To smooth the surface of the soil once broken and blended, a sturdy, flat garden rake is a must.
- Lawn roller: In order to press the sod into the earth once laid, a lawn roller is used. This 28-gallon Brinly lawn roller will provide ample weight for doing the job right.
- Starter turf builder: At the 30-day mark, be sure to provide proper nutrients to the sod. A good turf builder like Scotts New Grass formula will make sure the new grass becomes healthy and lush in no time.
Don’t want to use chemicals? Here’s how to lay sod for the perfect lawn naturally
If you are laying sod and want to take a completely natural, organic approach, there are alternate products. Some of these are a bit on the smelly side because they are natural, but used right will produce gorgeous lawns.
For building the soil in preparation for laying sod, try Scott’s Organic Top Soil, and for fertilizing the sod after the first month, use Milorganite Organic Nitrogen fertilizer, which is pet friendly and works wonders. There are other products you may decide to use — just be sure they are 100% organic. Some “organic” lawn products today are really blends, so read the product label carefully.
The bottom line on laying sod for the perfect lawn
Laying sod is the fastest, most effective way to build a beautiful lawn. Follow these simple steps to laying sod, and you’ll have the perfect lawn in no time. Just remember to prepare and smooth the surface of the soil, carefully place the sod, close and fill any gaps, press well into the soil beneath, and then water and fertilize. In less than 30 days, your lawn can be lush, green, and a source of growing pride.
Frequently Asked Questions
What direction should sod be installed?
Most people like to install sod horizontal to the home. This is because most prefer to also mow their lawn in the same direction. If new sod is properly installed, the direction will matter little. However, if laying the sod on a hill, installing it horizontally across the slope is recommended to prevent erosion.
What is the best time of year to install sod?
Any time is fine for installing sod, provided ample water can be supplied. If relying on nature to provide water, do not lay it during dry months. Remember, new sod grass must be watered daily, then tapered off during the first month.
Can sod be installed without tilling the soil?
Sod can be installed without the use of a tiller, but the surface must still be prepared. To break it up, you can use a good spade or twist tiller like this one from Yard Butler. The surface should still be well watered and smooth prior to the installation of the sod.
Related Articles

Poet Robert Frost said it best, “Good fences make good neighbors.” But, barricading ourselves behind 8-ft. walls isn’t very practical, and in some cases, your homeowner’s association (HOA) may not even allow that, but creating a private oasis with plants may be the solution. We’ve gathered some plants that let you be you, without worrying […]
Read More
Spending more time at home? Why not make the most of your outdoor spaces by giving them a refresh? You can extend your living square footage by converting a garden or patio into an inviting space. The right home landscaping can turn your yard into a place for a short break while working from home, […]
Read More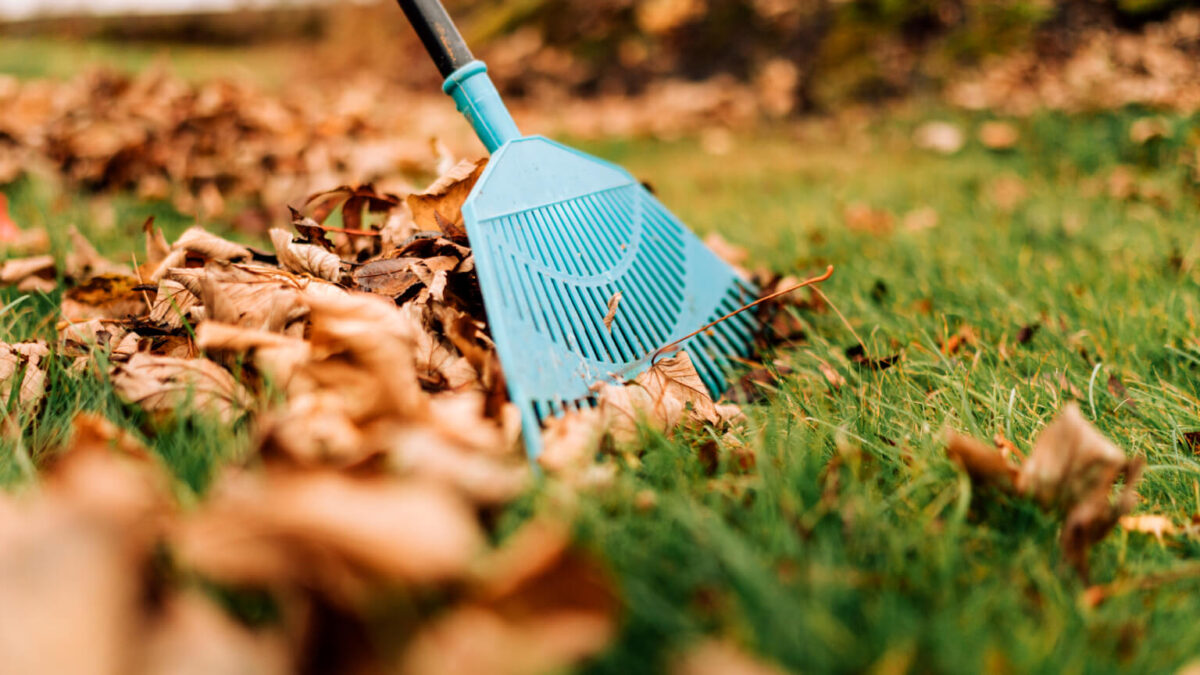
One of the most beautiful scenes every autumn is watching the leaves change colors into vibrant shades of red, yellow, and orange. But by the end of the season, leaf watching sadly turns into leaf cleanup, and we’re left with the dilemma of how to clean up all the leaves. Like many people with a […]
Read More