Lead Paint Removal: How to Test for Lead Paint and Remove It Safely
If you’re thinking of renovating, remodeling, or repairing your pre-1978 home (the year lead paint was banned), then there’s one important task you must do first: a lead paint test. Lead can be dangerous and can affect almost every organ and system in your body. Children ages six and younger are most susceptible to the effects of lead. In rare cases, if lead is ingested, it can cause seizures, coma, and even death.
If your home contains lead paint that's flaking, peeling, or wearing away, you’ll need to safely remove it to ensure your health —and the health and safety of your family. Thankfully, removing lead paint isn’t hard to do. You can hire a professional to remove lead paint in your home or follow our step-by-step guide on how to test for lead paint and get rid of it. You'll rest (and breathe) easier knowing that the paint in your home isn't putting your loved ones at risk.
How much does professional lead paint removal cost?
The Environmental Protection Agency (EPA) estimates the average cost of lead paint removal ranges from $8 to $15 per square foot — or approximately $10,000 to $30,000 total for homes up to 2,000 square feet.How to test for lead paint
The EPA recommends a professional lead inspection and a lead risk assessment as useful first steps in determining if you have lead paint. For a cheaper, DIY approach, you can also use an EPA-approved lead paint testing kit, available either online or at your local hardware store. The most popular of these is the 3M LeadCheck Swabs.10 steps to successful DIY lead paint removal
Step 1: Clear the room completely
Remove any furniture, household items, and fixtures from the room you’ll be working in. This prevents those objects' exposure to lead particles. Additionally, close windows and turn off any heating, ventilating, and air conditioning units.Step 2: Apply protective covering
Use thick plastic sheeting to cover the entire floor, door openings, air ducts, fireplaces, and immovable surfaces. Use duct tape to secure the plastic sheeting in place, ensuring there are no gaps (particularly on the floor, where lead dust can seep into the carpet or the crevices in floorboards).Step 3: Wear the correct safety garments
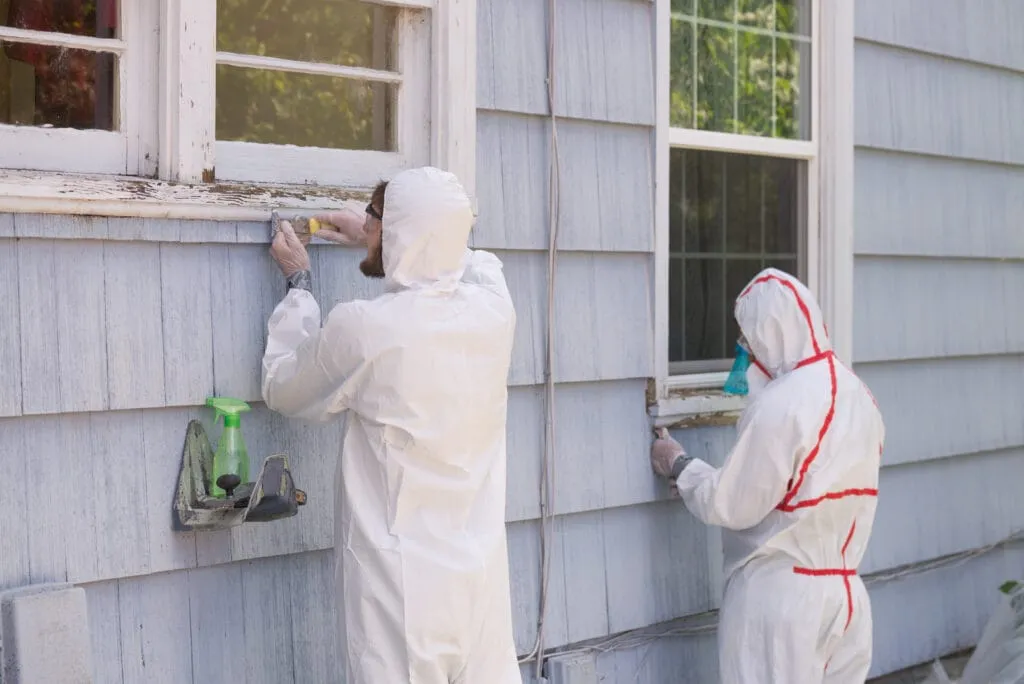
This is an essential step to proper lead paint removal. Make sure to put on the required safety wear, including a half-face respirator (not an ordinary dust mask) with an approved HEPA (High-Efficiency Particulate Air) filter. You should also put on coveralls, disposable overshoes, rubber gloves, protective goggles, and a hat.Step 4: Spray the area with water
Work “wet” to minimize the chance of lead dust particles becoming airborne. Spray areas of chipped or peeling paint thoroughly with a spray bottle filled with water and keep a bucket of warm water, along with sponges or rags, in the area for wiping down surfaces.Step 5: Scrape away peeling paint with a hand scraper
Make sure to scrape away any paint that's peeling or deteriorated. You don't have to scrape away all of the lead paint, you'll cover it with a coat of lead-free paint later.Step 6: Sand any rough areas smooth
Spray the area again to ensure it's wet, then sand any rough areas caused by scraping with a sanding sponge. Thoroughly wipe the area clean with a damp sponge or rag once you’re done, to wipe away any lead-filled dust particles.Step 7: Paint over the smooth wall (including parts that still have lead paint)
If the lead paint is in good condition and you've taken care of any peeling or deteriorating, you can paint over the wall with lead-free paint.Step 8: Vacuum your work area thoroughly with a separate, certified HEPA vacuum:
Do not use your normal household vacuum to vacuum up your workspace — even if it contains a HEPA filter — as these still run the risk of redistributing the lead particles back into the air. Make sure to use a separate, HEPA-certified vacuum to clean up any leftover debris.Step 9: Carefully remove and dispose of the protective plastic sheeting:
Fold the plastic sheeting inwards, toward the center, to trap any lead particles that may not have been vacuumed up. Then, roll up the sheeting and place it in a garbage bag. Check with your local council about disposal methods, as some will allow you to put in your garbage for pickup, while others may have stricter requirements.Step 10: Wash the area
While still wearing your protective gear, thoroughly wash the floor, windowsills, doorframes, and any other surface that may have come into contact with lead-filled particles. Use warm water, all-purpose cleaner, and a disposable cloth for this step. Dispose of the cleaning supplies in a sealed garbage bag.What you’ll need to remove lead paint safely
- Half-face respirator with an approved HEPA filter: This is vital to prevent inhaling toxic lead particles. A normal dust mask will not suffice.
- Certified HEPA vacuum: Research your local area to see if any community health centers currently rent these out (often for free or just a small fee). Alternatively, you can purchase ($300+) or rent (around $35-$45 per day) one from a construction store.
- Protective clothing: Coveralls, disposable overshoes, rubber gloves, protective goggles, and a hat should be worn. Thoroughly wash or dispose of these once finished.
- Heavy-duty plastic sheeting: The thicker, the better, as you don’t want it to tear.
- Heavy-duty duct tape: To securely hold the plastic in place.
- Sanding sponges: To sand wet surfaces.
- Paint scraper: To scrape off loosened or deteriorated lead paint.
- Spray bottle: For spraying lead paint surfaces with water to keep them wet and minimize airborne lead particles.
- Disposable sponges and rags: For wetting, wiping, and cleaning any surfaces worked on.