How to Paint Stripes on a Wall
Painting stripes on your walls is a great decorative technique and a trendy way to update a tired room. Striped wall paint ideas are often simple but bold, so it's important to identify the specific design that will work for your space. Vertical lines on walls will create the impression of height, while horizontal stripes will make the room look more spacious. The width of the lines will influence the amount of work required and how busy your striped wall will look. With so many considerations to keep in mind, here is what to know about how to paint stripes on a wall:
 KUPRYNENKO ANDRII/ Shutterstock
 Edvard Nalbantjan/ Shutterstock
 joppo/ Shutterstock
 timltv/ Shutterstock
 Palto/Shutterstock
Striped wall paint ideas
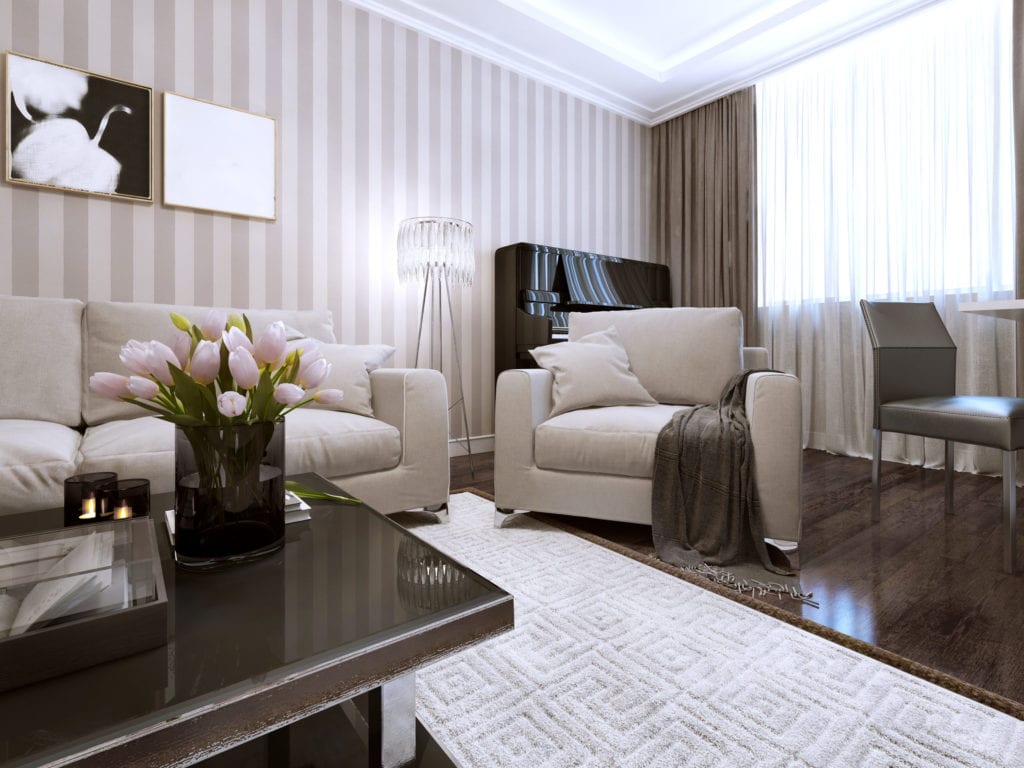
When it comes to painting a striped wall, creativity will help you craft unique designs that fit your personal style. The internet and home design magazines are awash with striped wall paint ideas that can help you improve your design. These ideas can steer your choices for the direction, width, color, and finish of your pattern. As you learn how to paint stripes on a wall, here are some inspiring ideas you can try**.**- Striped living room wall paint: These horizontal grey and white stripes make your room cozy while creating an illusion of space.
KUPRYNENKO ANDRII/ Shutterstock
- Striped bedroom walls: For painting vertical stripes on walls ideas are abundant on sites like Pinterest. The turquoise stripes in this design complement the white background, giving the space a vibrant aura ideal for a bedroom.
Edvard Nalbantjan/ Shutterstock
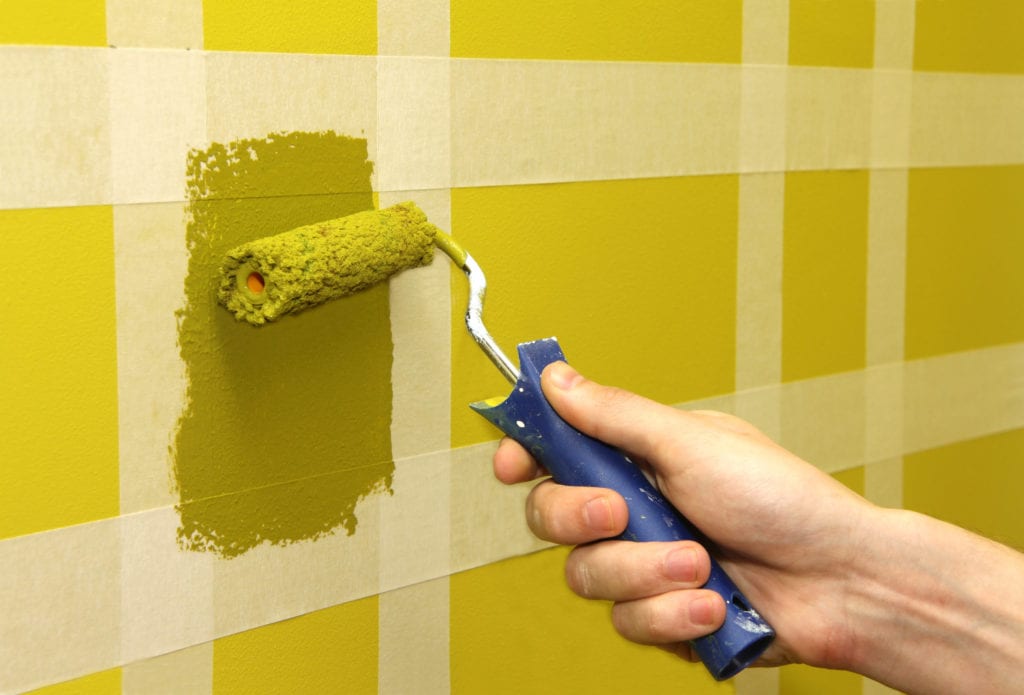
- Striped wall paint ideas for kitchens: Green stripes can freshen up your kitchen furniture and appliances without having to replace them.
joppo/ Shutterstock
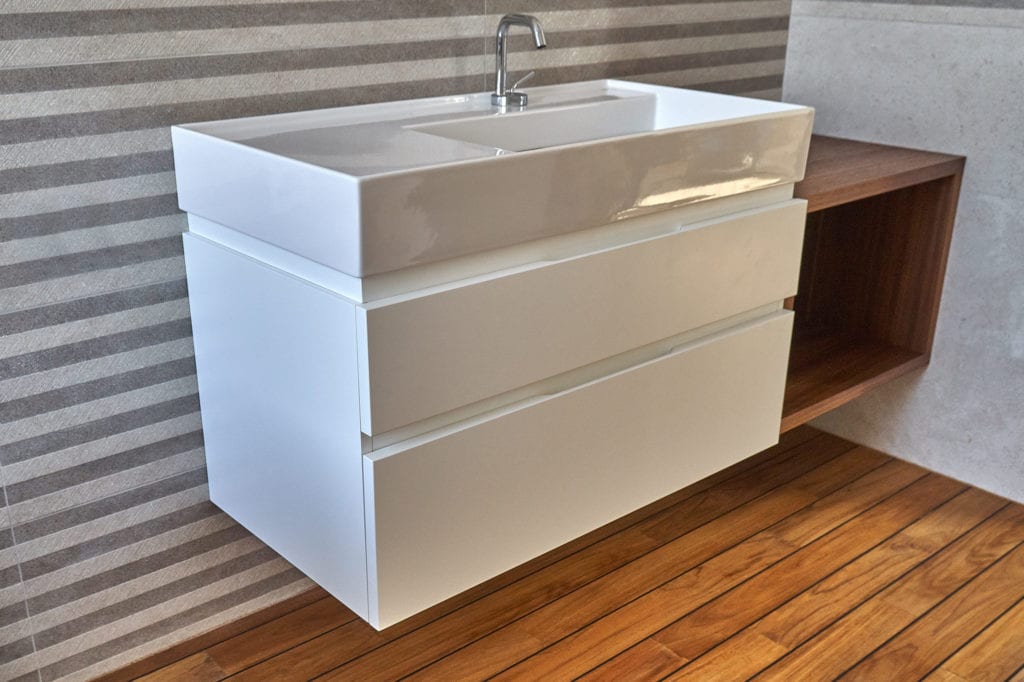
- Stripes on bathroom walls: Stripes can give the illusion of elongating, making your room look larger. For bathrooms, choose calming colors for the feel of a relaxing getaway.
timltv/ Shutterstock
- Inspiring ideas for striped hallway walls: Line a hallway with stripes to create a warm and inviting entryway for guests.
Palto/Shutterstock
Seven steps to painting stripes that look good
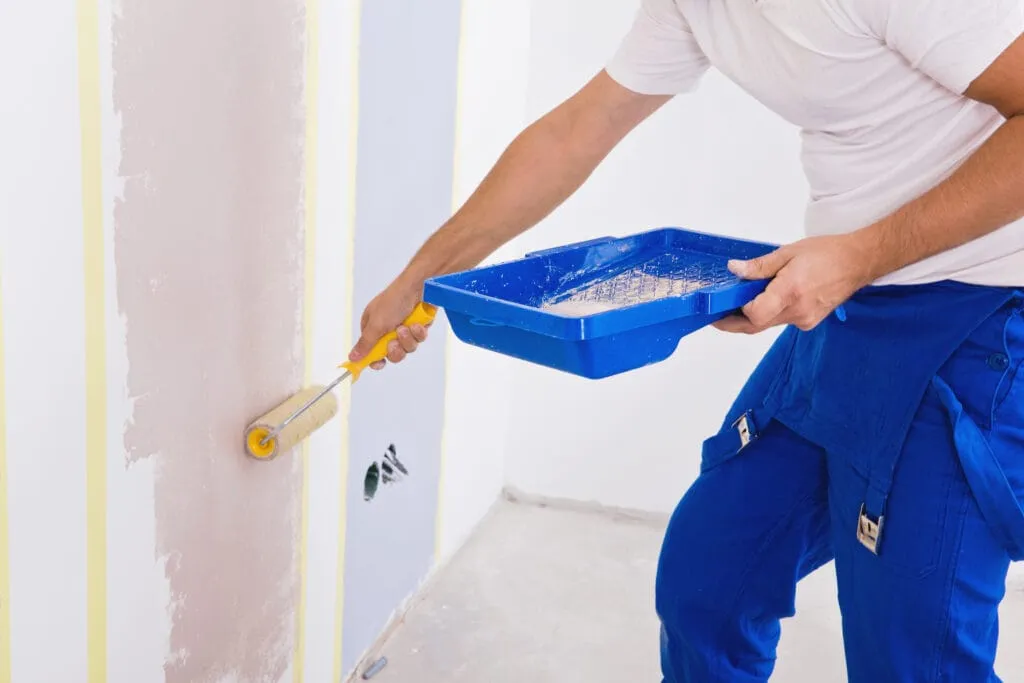
Painting stripes on a wall is easy and fun, but placing them evenly can be tricky. You have to make sure you do the project properly to achieve perfect results. Follow our step-by-step plan on how to paint stripes on a wall (and how to paint straight lines):Step 1: Plan
Before you start painting stripes on your walls, plan out your look. Unlike painting a regular wall, there are more creative ideas and effects available when adding stripes to walls. Because more colors and measurements are involved, it requires more organization. Identify the exact design, colors, and thickness of the stripes you want and gather the necessary tools and materials for the project.Step 2: Paint the entire wall
Use paint primer to prepare the walls so you have a clean and stable surface onto which paint can cling. Next, choose the base color and proceed to paint the entire wall. When using multiple colors to update your walls, make sure that the base color is the lightest of all of the colors. That way, you will only need to add the darker colored stripes on top rather than painting each individual stripe. Give the paint roughly 48 hours to dry.Step 3: Measure your walls
Measuring your walls ensures how many stripes in the designed width you can fit in. This step is also important if you are specific about the colors you want the first and last stripes to be. Measure the width and height of the wall for vertical and horizontal stripes, respectively. Then divide this figure by the number of stripes you want in order to determine how wide each stripe should be.Step 4: Mark your stripes
The secret of how to paint straight lines is measuring and marking. Use a colored pencil and tape measure to mark the precise position of your stripes. Be sure to draw all your lines as level and straight as possible.Step 5: Tape the wall
Apply painter's tape along the edge of your ceiling, trim, woodwork, and outlets. Next, tape carefully along the outside edge of all the stripe pencil marks to ensure that the stripes will be even. Press down firmly or seal the edges of the tape to keep paint from getting underneath. Securing the tape will deliver crisp, clean lines.Step 6: Paint the accent stripe
Use a paint roller to paint the stripes on your wall, making sure you paint over the edge of the tape so that your lines are straight and clean. Whenever necessary, apply a second coat to achieve a beautiful finish. You can use different types of paint for each stripe if you want to have a unique finish.Step 7: Remove tape
Remove the tape while the accent is wet to minimize the chances of pulling off some of the paint. The tape should be removed from the wall carefully and at an angle to avoid messing up the paint job.What you will need to paint straight lines properly
Beyond the basics of how to paint stripes on a wall — it's key to know how to paint straight lines. Using the right tools will go a long way in helping you paint even stripes.- A drop cloth
- A ladder
- Colored pencil
- Painter’s tape
- Paint roller and covers
- Paint, two or more different colors
- Paint primer
- Tape measure